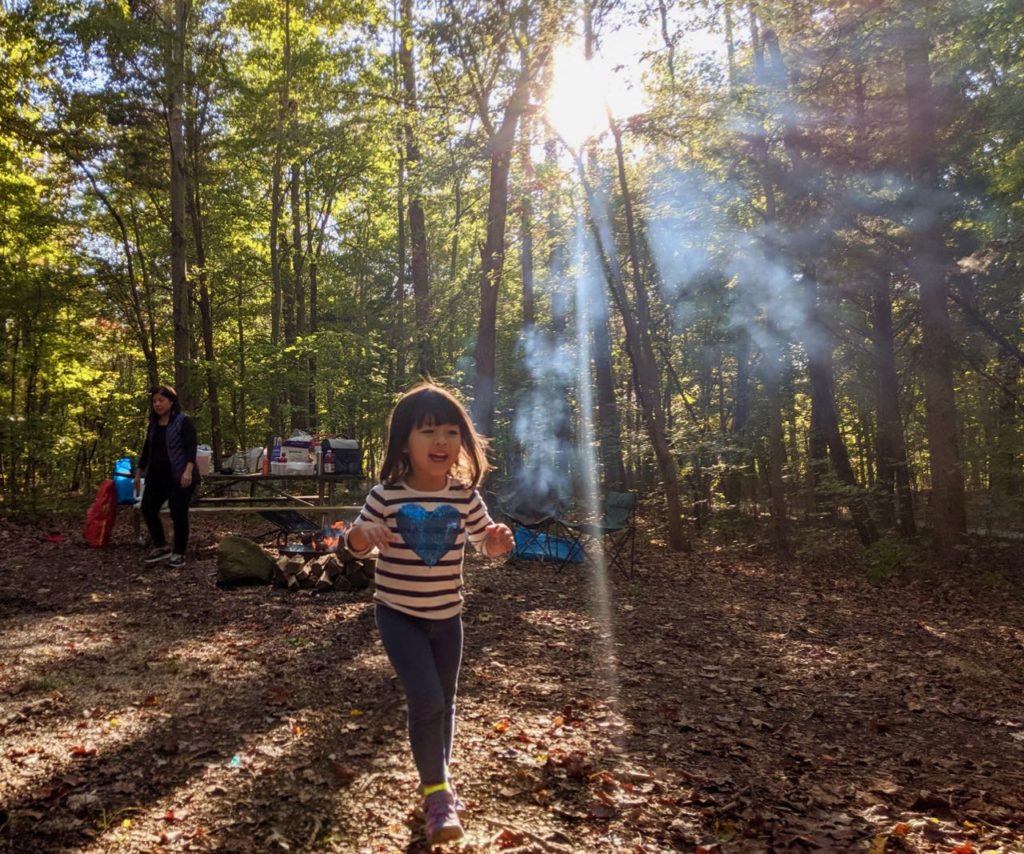
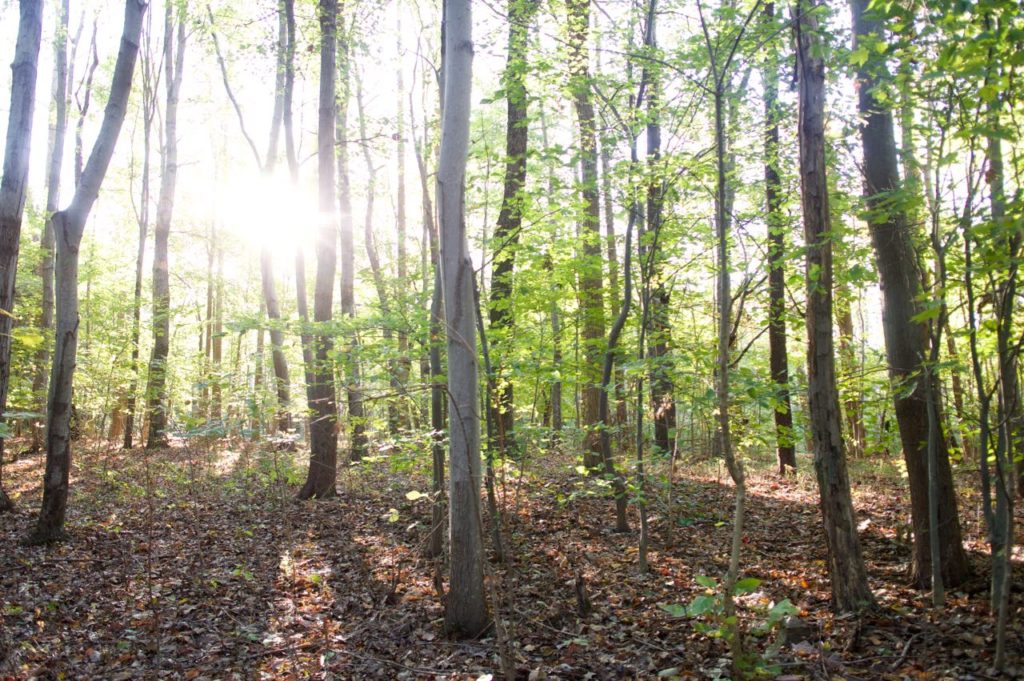
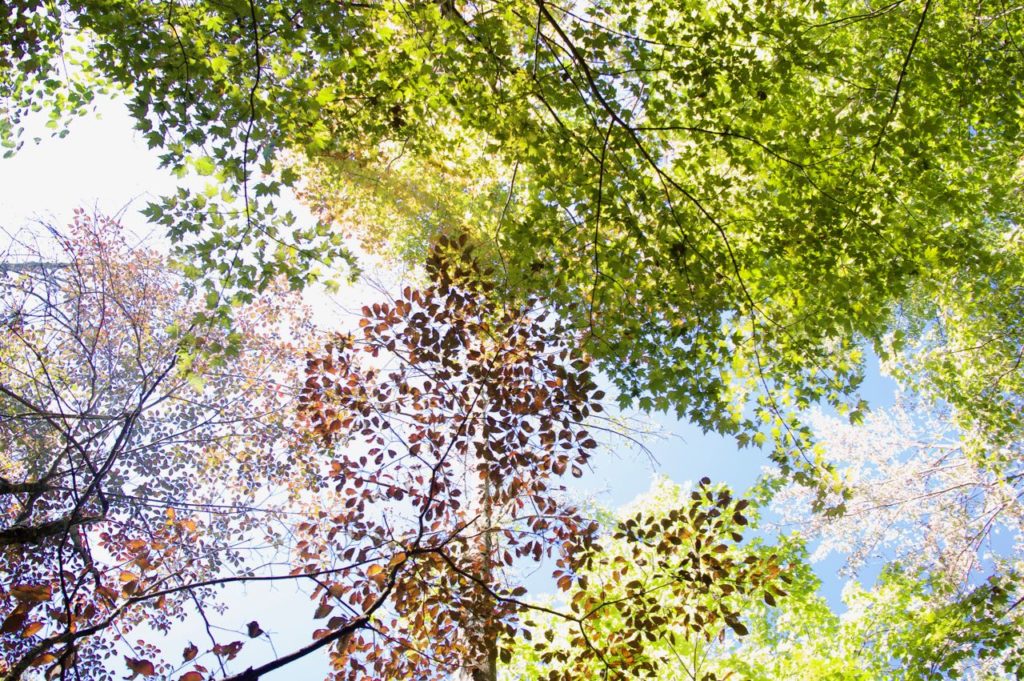
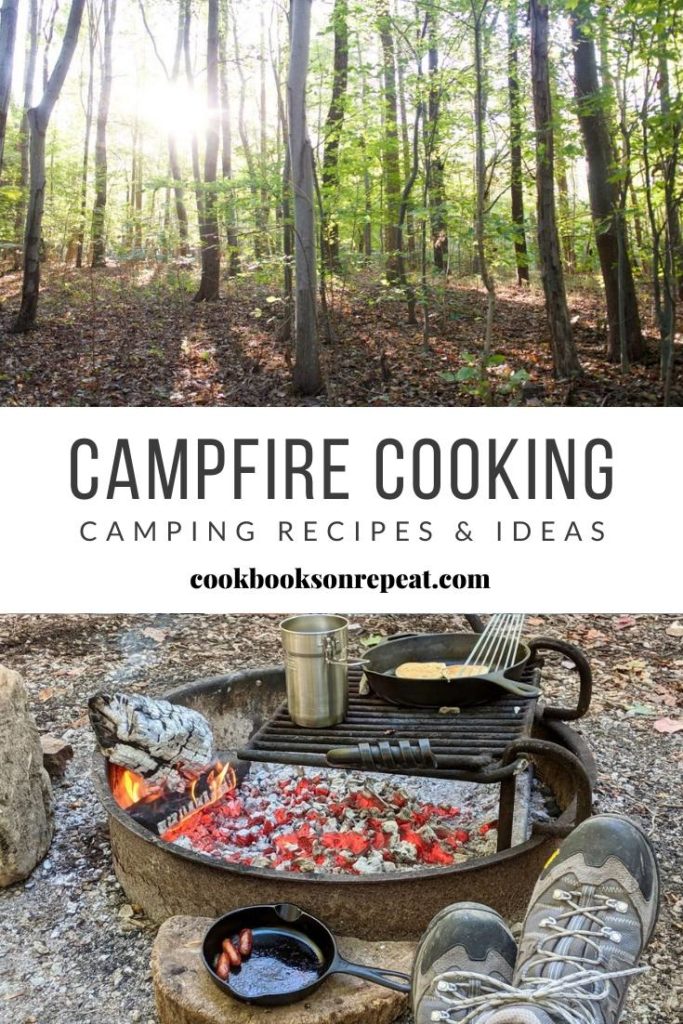
Recently, we went on our first overnight camping trip as a family. With a small child and a dog in tow, we set out to have some adventures, do some campfire cooking and sleep in the great outdoors! We had sunny, fall days and a super chilly night (it was about 42 degrees) but we toughed it out under a thick duvet and sleeping bags. I learned a few things, regretted some other things but all in all, I really enjoyed cooking over a campfire. It was a fun trip for us and everything tasted better outdoors. Why is that?
What Did We Pack To Cook?
Jump to Recipe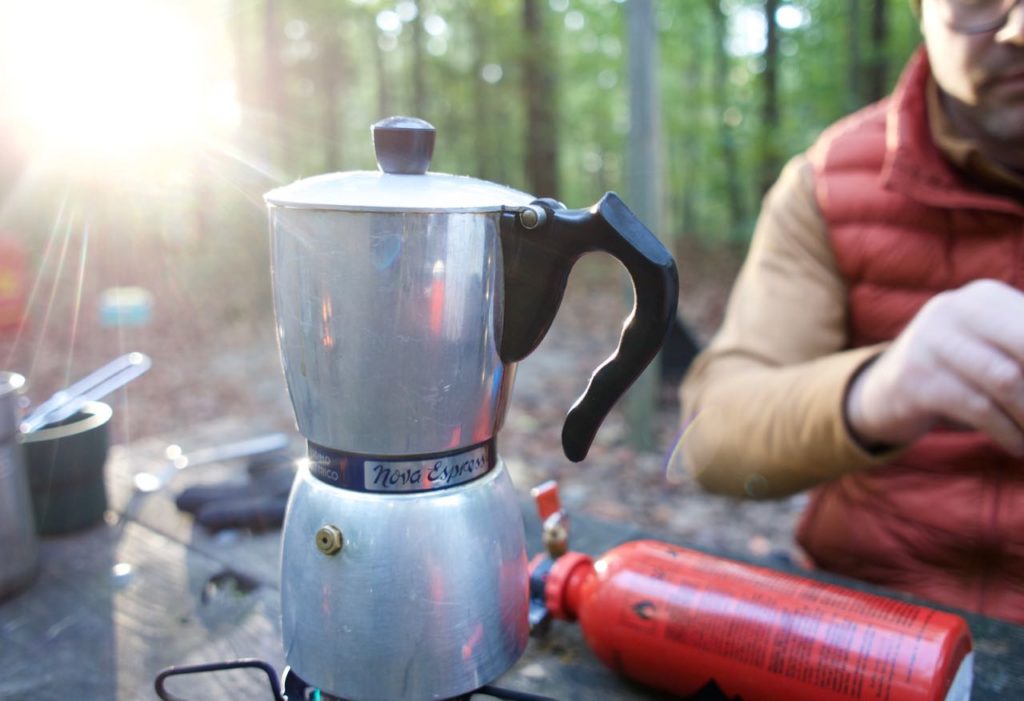
We were only spending 1 and a half days and one night camping. Since we have a three year old, we wanted to test it out before we commit to more than one night in a tent. So, I only had to pack for one dinner, breakfast and some snacks and drinks. Here was the menu:
Dinner
- Grilled Flank Steak with Herb (Reverse) Marinade
- Crispy Potato Wedges
- Grilled Baby Squashes
- Baked Apples with Whipped Cream
Breakfast
- Blueberry Pancakes with Maple Syrup
- Sausage Links
- Fried Eggs
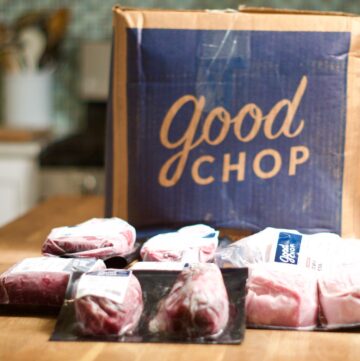
For drinks, we packed juice, coffee, water, milk, wine and sparkling water. I also packed some fruit, yogurt cups and and crackers for snacks. Oh, and also dog food for Oscar! All in all, not too much to pack as far as food.
Equipment for Campfire Cooking
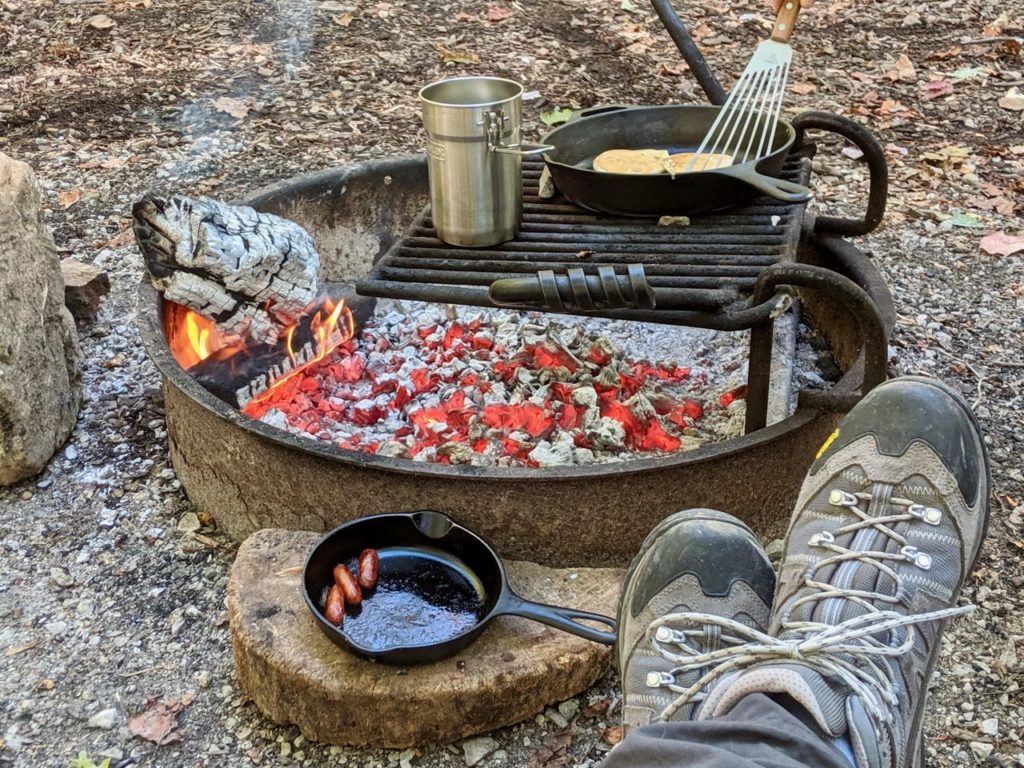
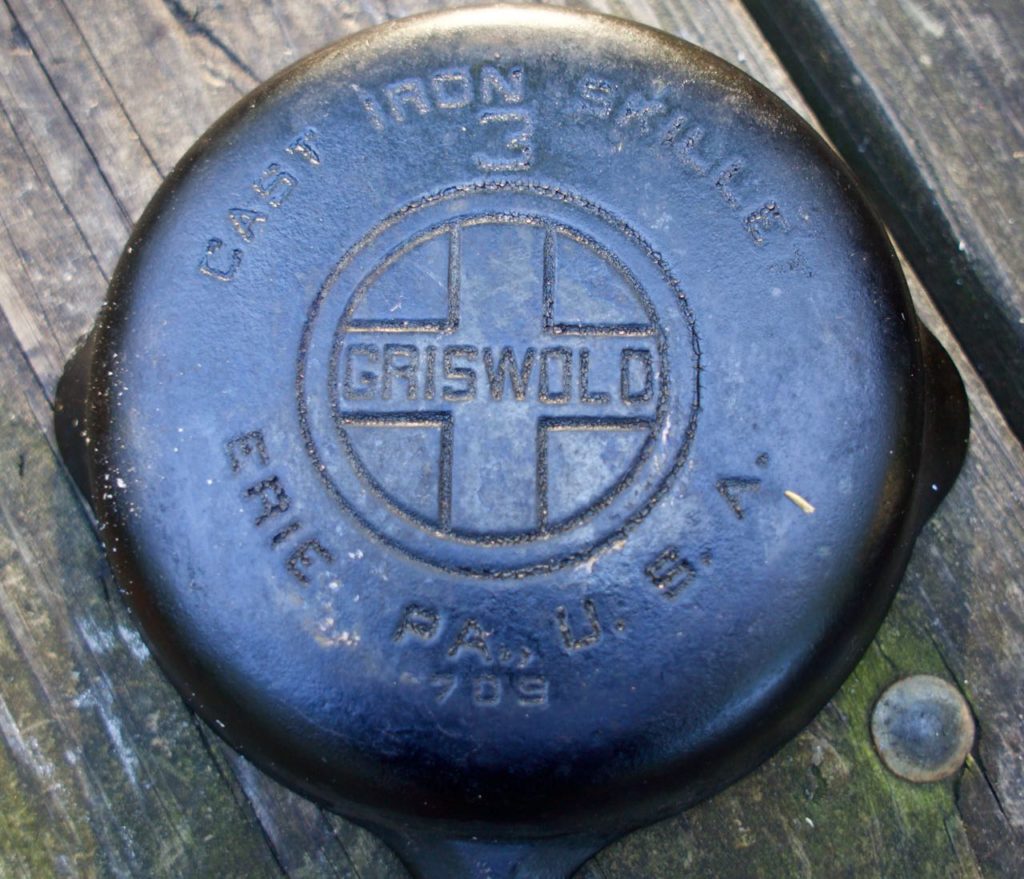
- Two Skillets (large and small)- I used cast iron
- One medium/small pot
- Chopping Board
- Two Knives: Chef and Paring Knife
- Dish Tub, Scrubber, Dish Soap
- Long Tongs
- Spatula
- Large Spoon and Regular Spoon for stirring
- Towels (for hot pans and cleaning/drying)
- 1-2 Mixing Bowls
- Small Baking Sheet (to put grilled food on after cooking)
- Small Backpacking/Camp Stove
- Hardwood Charcoal (optional)
Of course, what you bring will be dependent on what you will be cooking but this will get you through most of the food prep and cooking. Along with this list, I brought some enamelware plates, cups, silverware and a moka pot to make coffee. I preferred bringing reusable/washable dinnerware since I’m not into using disposable plates (less garbage). We brought charcoal and a camp stove to make cooking a little quicker. Wood was provided at our campsite but it takes a long time to burn down to the proper cooking temperature.
I think the key to campfire cooking is to not get overly complicated. Just keep it simple and prep what you can at home. You don’t have to resort to buying instant or pre-packaged foods. For instance, instead of pancake mix, I just mixed up the dry ingredients from my favorite pancake recipe and put it in a container. So, all I had to do was add buttermilk, melted butter and an egg. Everything I cooked was made from scratch. Basically, it was a lot of grilling and cooking with aluminum foil and cast iron skillets.
What I Would Have Done Differently
We planned this trip at the last minute, so I had a rough idea of everything I wanted to make only the day before. Therefore, I didn’t make enough lists which drove me crazy when I was packing the next morning. I was constantly re-tracing my steps and forgetting to pack things. When we got to the campsite, I couldn’t find anything I needed. Staying organized is key!
Once you get to the campsite, organize your cooking area like you would your kitchen. Set all your cooking tools, pantry items, cooler items, pots, pans, and dishes in a way that makes sense for you to cook and to have on hand. Try separating things into their own bins or boxes when you’re packing. It’ll be much less stressful once you do start cooking.
This post contains affiliate links for Amazon Associates. At no cost to you, I may earn a very small commission if you choose to purchase through them. Please know I only recommend products I use myself and love! Thank you for supporting the work I do.
Grilled Flank Steak with Herb Reverse Marinade
Ingredients
For the Steak
- 3-3½ pounds flank steak
- salt
For the Marinade
- ¼ cup parsley, chopped
- ¼ cup cilantro, chopped
- ⅛ cup mint, chopped
- 1 clove garlic, minced
- ½ cup olive oil, extra virgin
- 3 tablespoons red wine vinegar (or lime juice)
- 1 teaspoon kosher salt
- ⅛ teaspoon pepper
Method
- Season steak with salt on both sides. Allow steak to sit out at room temperature for 30 minutes before grilling. Prepare a grill or grill pan for medium high heat.
- To make the marinade, combine all the ingredients in a small bowl and whisk well to combine. Set aside.
- Grill steak to desired doneness. Remove and allow to rest for 5 minutes. Slice steak across the grain into thin slices. Place slices in a large mixing bowl. Spoon over enough marinade to evenly coat everything. Toss and allow to sit, covered, for a couple of minutes. Serve.
Notes
Fluffy Blueberry Buttermilk Pancakes
Ingredients
- 1 cup (125 g) all-purpose flour
- 2 tablespoons sugar
- 1 teaspoon baking powder
- ½ teaspoon baking soda
- ½ teaspoon salt
- ¾ cup (70 ml) buttermilk
- 1 egg, lightly beaten
- 2 tablespoons butter, melted and cooled
- 1 cup blueberries
- maple syrup, warmed, for serving
Method
- Place a large skillet or griddle on a medium-low heat. In a medium bowl, combine all the dry ingredients. Whisk well to combine.
- Add the buttermilk, egg and melted butter. Stir to combine. Do not over mix as this will make pancakes tough. A few lumps in the batter are fine. Batter should be fairly thick. If thinner pancakes are desired, add a bit more buttermilk to loosen slightly.
- Test the skillet/griddle by shaking a few drops of water onto the surface. Drops should sizzle, then disappear. Adjust heat as needed. Pour 1/4 cup batter for each pancake. Dot surface with blueberries. Flip when bubbles appear on the surface and edges seem dry. Cook for 1 minute more or until browned on the bottom. Repeat with remaining batter.
- Serve with warmed maple syrup and butter, and more blueberries, if desired.
Notes
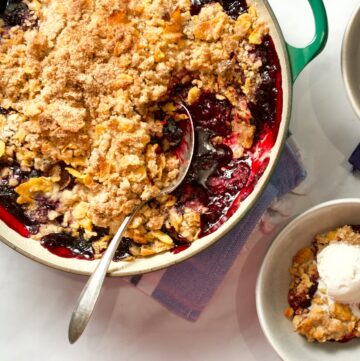
Campfire Baked Apples with Jar-Shaken Whipped Cream
Ingredients
For the Apples
- 4 gala or fuji apples (or your favorite baking apple)
- 4 tablespoons brown sugar, maple syrup or any other sweetener
- 2-3 tablespoons butter, cut into small cubes
- cinnamon, nutmeg, cloves, allspice, ginger or pumpkin spice
- salt
For the Whipped Cream
- 1 cup heavy whipping cream, cold
- sugar or your desired sweetener (optional)
Method
- Remove the stem end of each apple with the point of a knife. Using a small measuring spoon, hollow out each apple further to remove the core and seeds. Do not go all the way to the bottom.
- Fill each apple with about 1 tablespoon of sweetener, a few cubes of butter and a pinch of your chosen spice(s) and salt. Place into a baking dish or pan that will fit them closely together. Add about one inch of water to the bottom of the dish.
- To cook over a campfire: wrap the dish tightly with aluminum foil. Place pan directly into coals or on a grate over coals. To oven bake: place dish into a preheated 350° oven. Bake apples for 35-45 minutes (time will depend on size of apples, how hot your coals are, etc. Add more water to oven baked apples, as needed.) Check doneness by inserting the tip of a knife into an apple. It should go through easily.
- To make whipped cream: pour cold cream into a large jar. Add as much sugar or sweetener as desired. Cap and shake vigorously for about 3 minutes or until cream is stiff and spoonable. Keep cold until needed.
- Serve warm apple with whipped cream.
Notes
Pin it for later!
Looks like so much fun!! Love the iamges, almost like being there! Thanks for sharing. I can see printing off this and having a check list for supplies before camping 🙂
I loved the baked apples idea. Makes me want to build a campfire just to be able to smell the woodsmoke and apples baking at the same time. 🙂
Thank you! You could do this in your backyard too in a grill or fire pit :).
What a fun experience! And your meals look delicious!
It was great! I loved camping in the fall. Thank you!